Tutoriel Kling AI : Comment créer l'effet viral 'Time Freeze' (Flux de travail)
De nombreux créateurs recherchent un Tutoriel Kling AI pour reproduire cet effet.
Dans ce Tutoriel Kling AI complet, nous vous révélons le flux de travail exact. Si vous suivez ce Tutoriel Kling AI, vous apprendrez à garder le personnage cohérent.
Étape 1 de ce Tutoriel Kling AI : L'Image de Base
Pour ce Tutoriel Kling AI, nous avons utilisé Nano Banana Pro.
Pourquoi est-ce crucial pour notre Tutoriel Kling AI ? Parce que Nano Banana Pro excelle dans le respect des prompts.
Le Prompt utilisé :
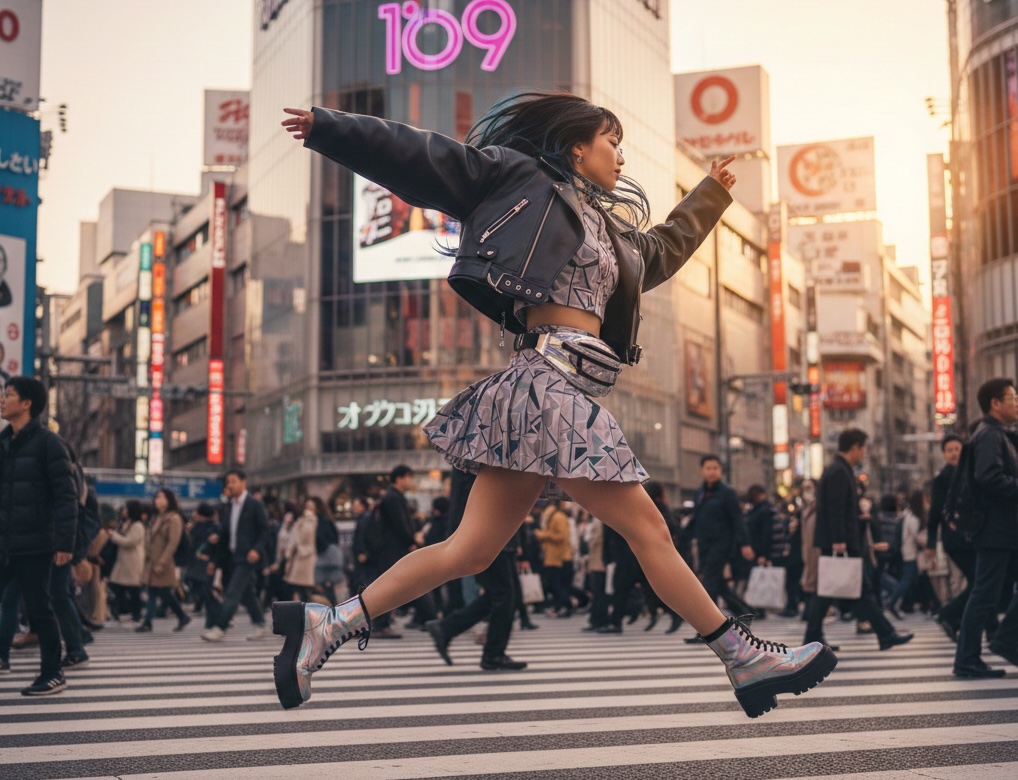
"A fashion photography shot of a stylish girl jumping in the air at Shibuya Crossing. She is frozen in a dynamic pose. Background is filled with blurred rushing crowds. Tokyo city lights, golden hour, 8k resolution, hyper-realistic, cinematic depth of field."
Le Résultat :
Étape 2 de ce Tutoriel Kling AI : Animer avec Kling 2.6
Voici le cœur de ce Tutoriel Kling AI : Le Mouvement. Nous utilisons le modèle Kling 2.6.
Réglages pour ce Tutoriel Kling AI :
- Modèle : Kling 2.6 (Image-to-Video)
- Créativité : 0.5 (Crucial pour ce Tutoriel Kling AI)
- Prompt de Mouvement : "The girl remains frozen in the air, bullet time effect. The crowd in the background moves fast. Camera slowly pans around the subject."
Le Résultat :
C'est pourquoi ce Tutoriel Kling AI recommande Kling 2.6.
FAQ sur ce Tutoriel Kling AI
Q : Pourquoi ce Tutoriel Kling AI utilise-t-il Kling 2.6 ? R : Comme montré dans ce Tutoriel Kling AI, Kling 2.6 offre une meilleure cohérence.
Q : Ce Tutoriel Kling AI est-il adapté aux débutants ? R : Absolument. Ce Tutoriel Kling AI est conçu pour être simple.
Conclusion
Prêt à appliquer ce que vous avez appris dans ce Tutoriel Kling AI ?