
AI Headshot Generator: Build Your Own in 11 Steps
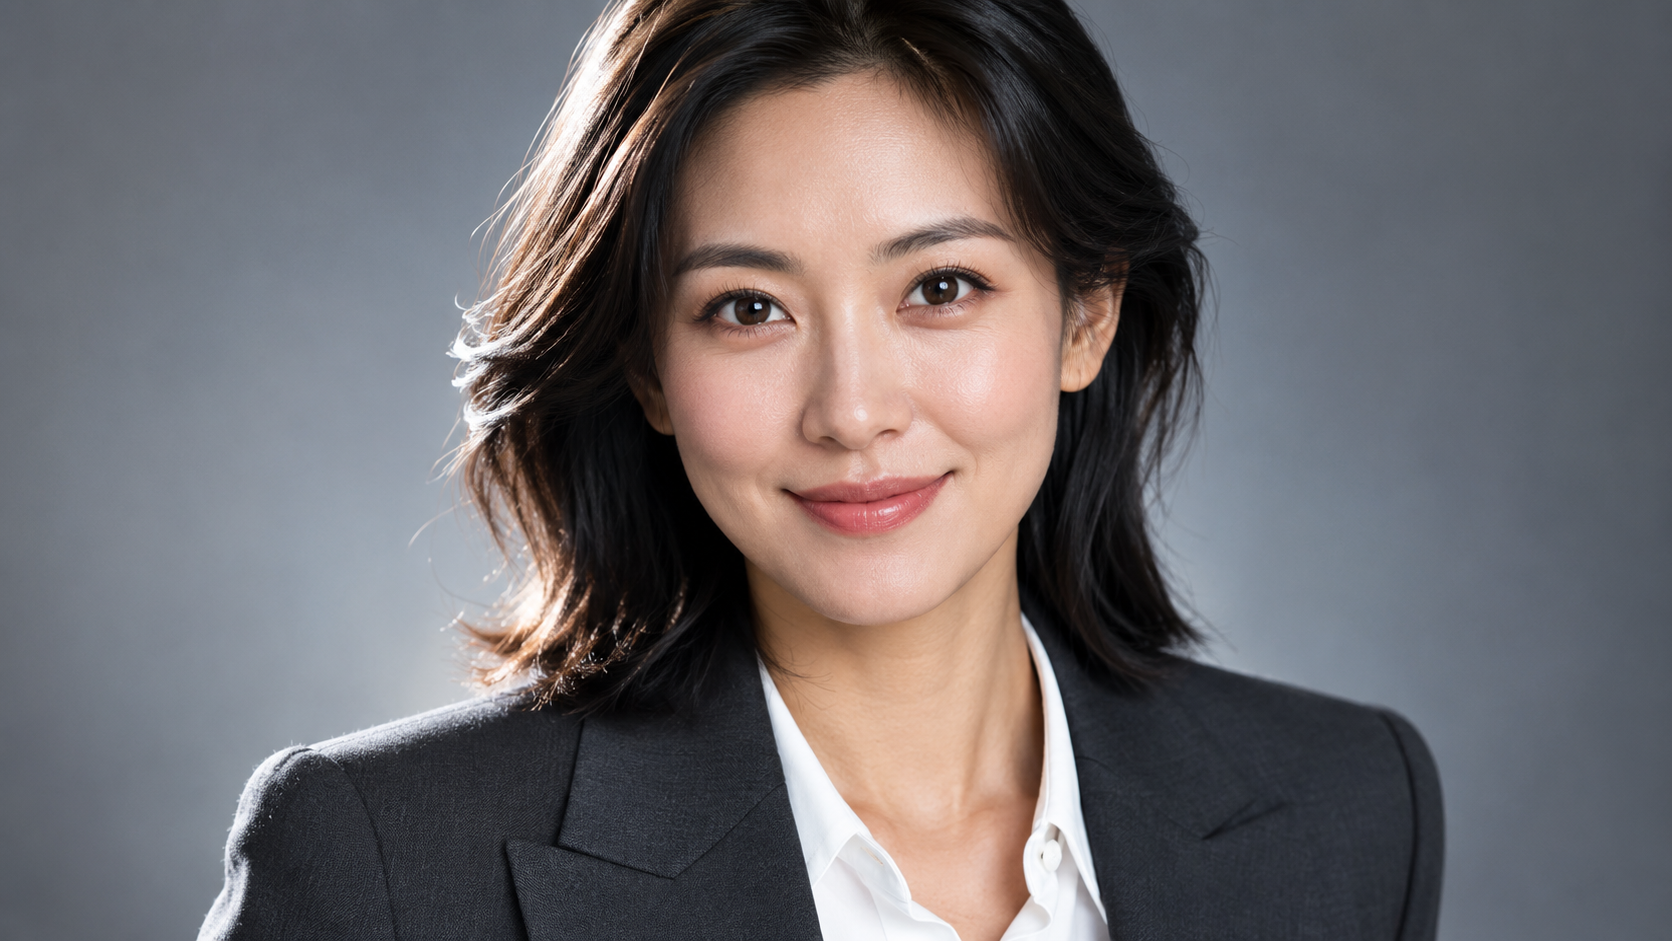
Professional headshots used to mean booking a studio, sitting under lights, and paying a photographer — often hundreds of dollars for a handful of usable frames. An AI headshot generator collapses that into a prompt and a few minutes.
But there's a catch: most AI headshot attempts look subtly wrong. Over-smoothed skin, dead eyes, a mouth that doesn't quite match the face. The difference between a convincing AI headshot and an obvious fake comes down to process, not luck. Follow these steps and your AI headshot will hold up next to a real photograph. Here's an 11-step AI headshot workflow you can run on Fanch AI.
Step 1: Gather the Right Source Photos
Everything starts with your input. Use two or three sharp, front-facing photos taken in even light, with your face clearly visible and no sunglasses or heavy filters. A strong source is the single biggest predictor of a good AI headshot.
Step 2: Decide the Look Your Industry Expects
A finance AI headshot and a creative-director AI headshot should not look the same. Decide the register first: corporate and conservative, smart-casual, or editorial. Locking this in before you prompt keeps you from generating a pile of images you can't use.
Step 3: Use the Six-Part Prompt Formula
The best AI headshot prompts fill six slots, with one strong detail each:
- Subject — "confident woman in her 30s with shoulder-length brown hair"
- Framing — "head-and-shoulders portrait, eye-level, slight three-quarter angle"
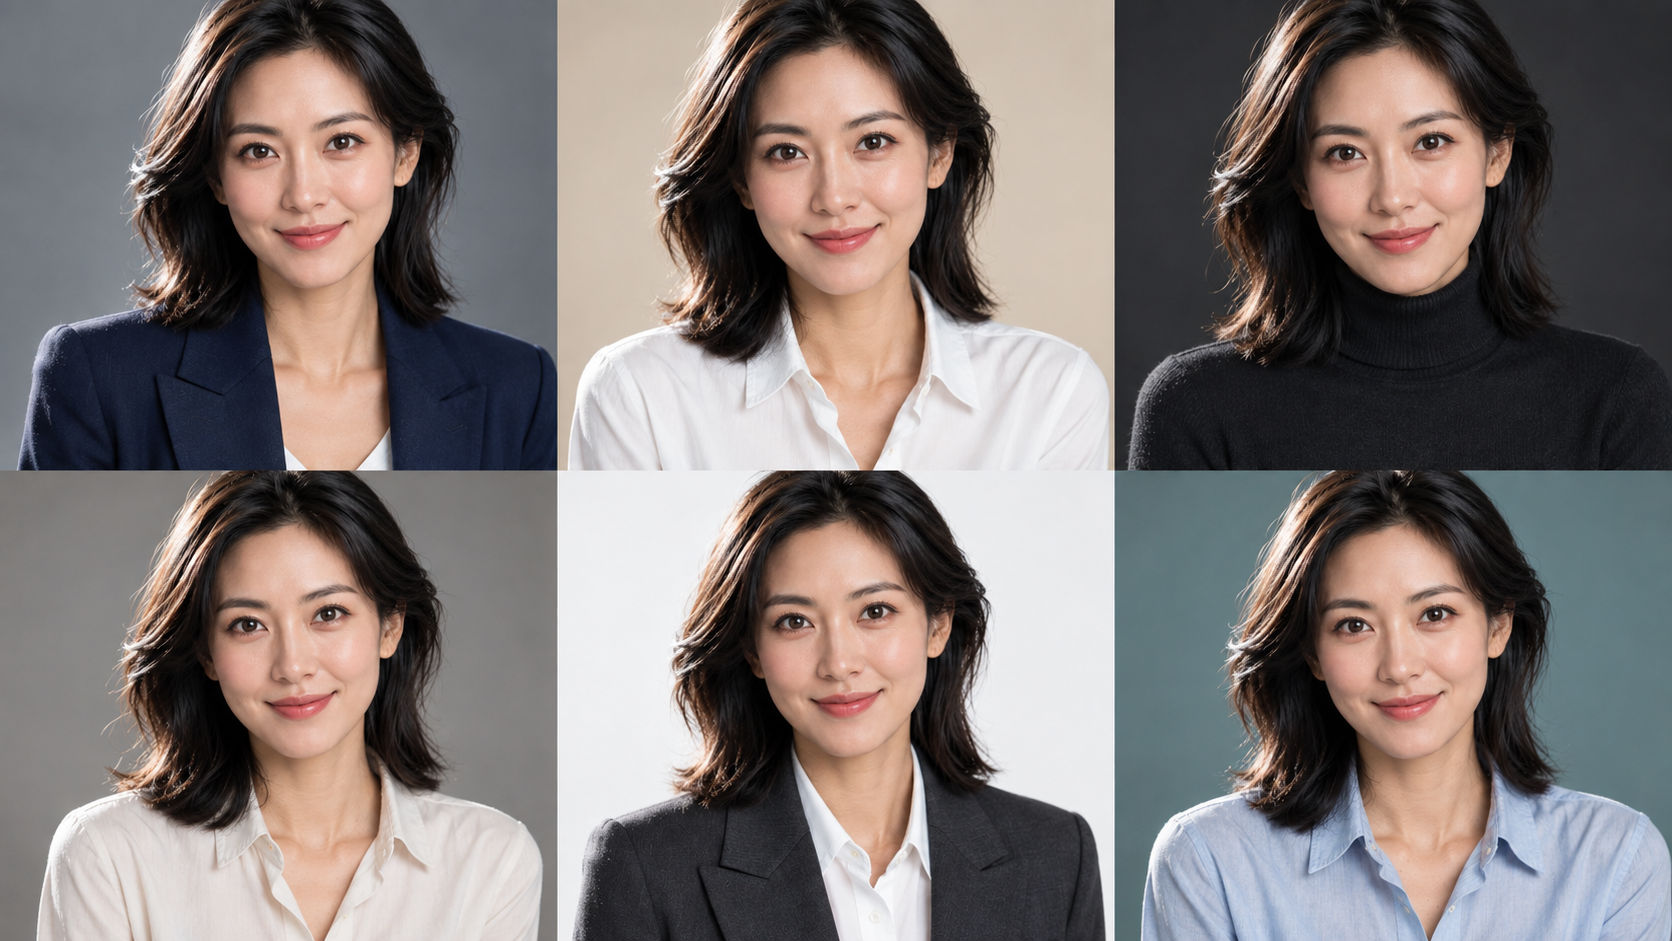
- Wardrobe — "tailored navy blazer, crisp white shirt, no tie"
- Background — "soft-blurred grey studio backdrop"
- Lighting — "soft key light from front-left, gentle fill, subtle rim light"
- Camera detail — "85mm portrait lens, shallow depth of field"
One specific detail beats five vague ones in every AI headshot attempt.
Step 4: Get the Lighting Right
Lighting is what separates a professional AI headshot from a selfie. Ask for a soft key light with gentle fill and a subtle rim light — that three-light setup is what gives a face dimension instead of flattening it. If your AI headshot looks flat, lighting is almost always the reason.
Step 5: Nail the Wardrobe
Describe the garment, not the category. "Business clothes" gives you generic results; "charcoal blazer over a white shirt" gives you a usable AI headshot. Avoid loud patterns, which generative models handle unevenly. The wardrobe is often what makes an AI headshot read as senior rather than junior.
Step 6: Choose a Background That Stays Out of the Way
For most professional uses, a soft-blurred neutral backdrop is the safest AI headshot choice. A faux office can read as fake, while a clean gradient reads as studio. When in doubt, the plainest background makes the strongest AI headshot.
Step 7: Preserve Your Likeness
This is the step people skip. Upload a reference photo and explicitly tell the model to keep your facial features, skin tone, and proportions unchanged. An AI headshot that doesn't look like you is worthless, no matter how polished it is.
Copy & Paste this into Fanch AI (Model: gpt_image_2):
Transform the uploaded photo into a professional head-and-shoulders portrait. Keep the subject's exact facial features, skin tone, and proportions completely unchanged. Dress them in a tailored charcoal blazer over a crisp white shirt. Use a soft-blurred neutral grey studio backdrop, a soft key light from the front-left with gentle fill and a subtle rim light, and a slight three-quarter angle at eye level. Natural skin texture with visible pores, sharp focus on the eyes, 85mm portrait lens look, shallow depth of field, photorealistic, 16:9 framing, no text.
Step 8: Generate a Batch, Not a Single Image
AI headshot results vary between runs. Generate six to ten options, then narrow down. Batching also lets you test two wardrobe choices against the same lighting setup.
Step 9: Dodge the "AI Face" Look
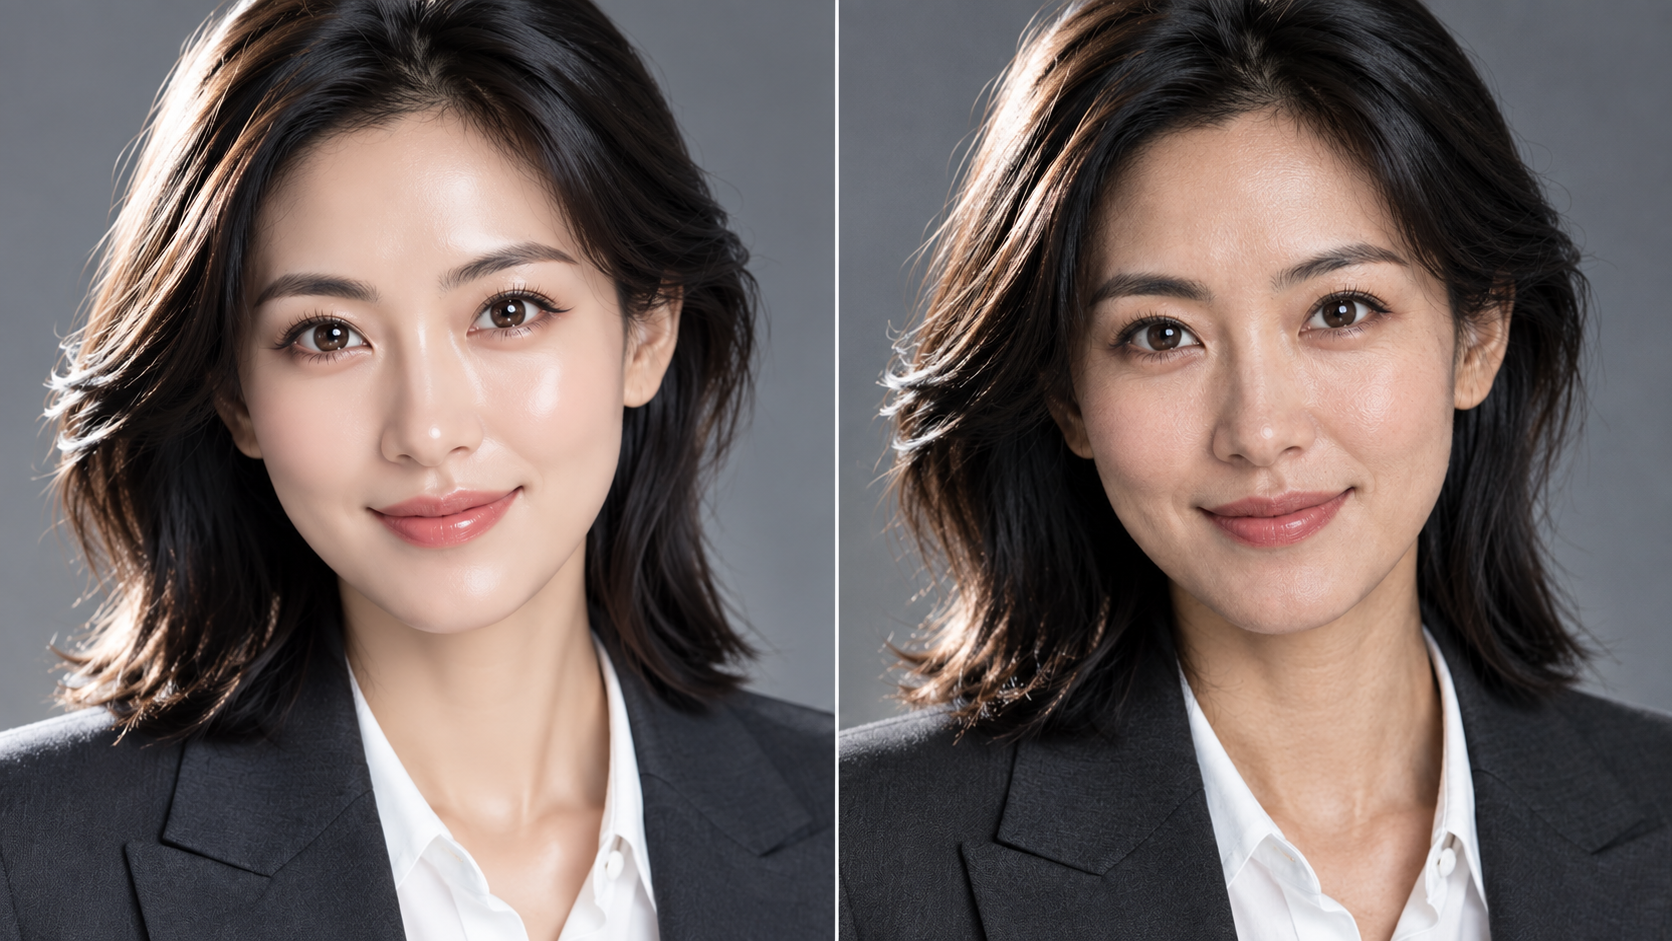
The most common AI headshot failure is the plastic look: over-smoothed skin, glossy eyes, and a symmetry that no real face has. Fix it by explicitly asking for natural skin texture and visible pores, and by avoiding words like "flawless" or "perfect" in your prompt.
Step 10: Inspect at Full Size
Zoom in before you commit. Check the teeth, the eyes, the hairline, and the edges of the collar. Most bad AI headshot results look fine in a thumbnail and fall apart when a recruiter opens the full image.
Step 11: Export at the Right Sizes
A finished AI headshot needs multiple crops: a square for LinkedIn, a wider version for a website hero, and a tight crop for speaker bios. Generate once, export three ways. Plan those crops before your last AI headshot run so you only generate what you actually need.
Why Fanch AI Is the Easiest AI Headshot Generator
Fanch AI gives you a dedicated image model that follows detailed prompts closely — so your AI headshot keeps your real likeness while the lighting, wardrobe, and background change around it. There's no studio booking and no $300 invoice; you upload a photo, paste a prompt, and get a professional AI headshot in minutes. For most people, that makes an AI headshot the fastest upgrade their profile can get.
👉 Start here: GPT Image 2 on Fanch AI — create your own AI headshot now.