
AI Image Editing Workflow: 12 Steps to Pro Edits
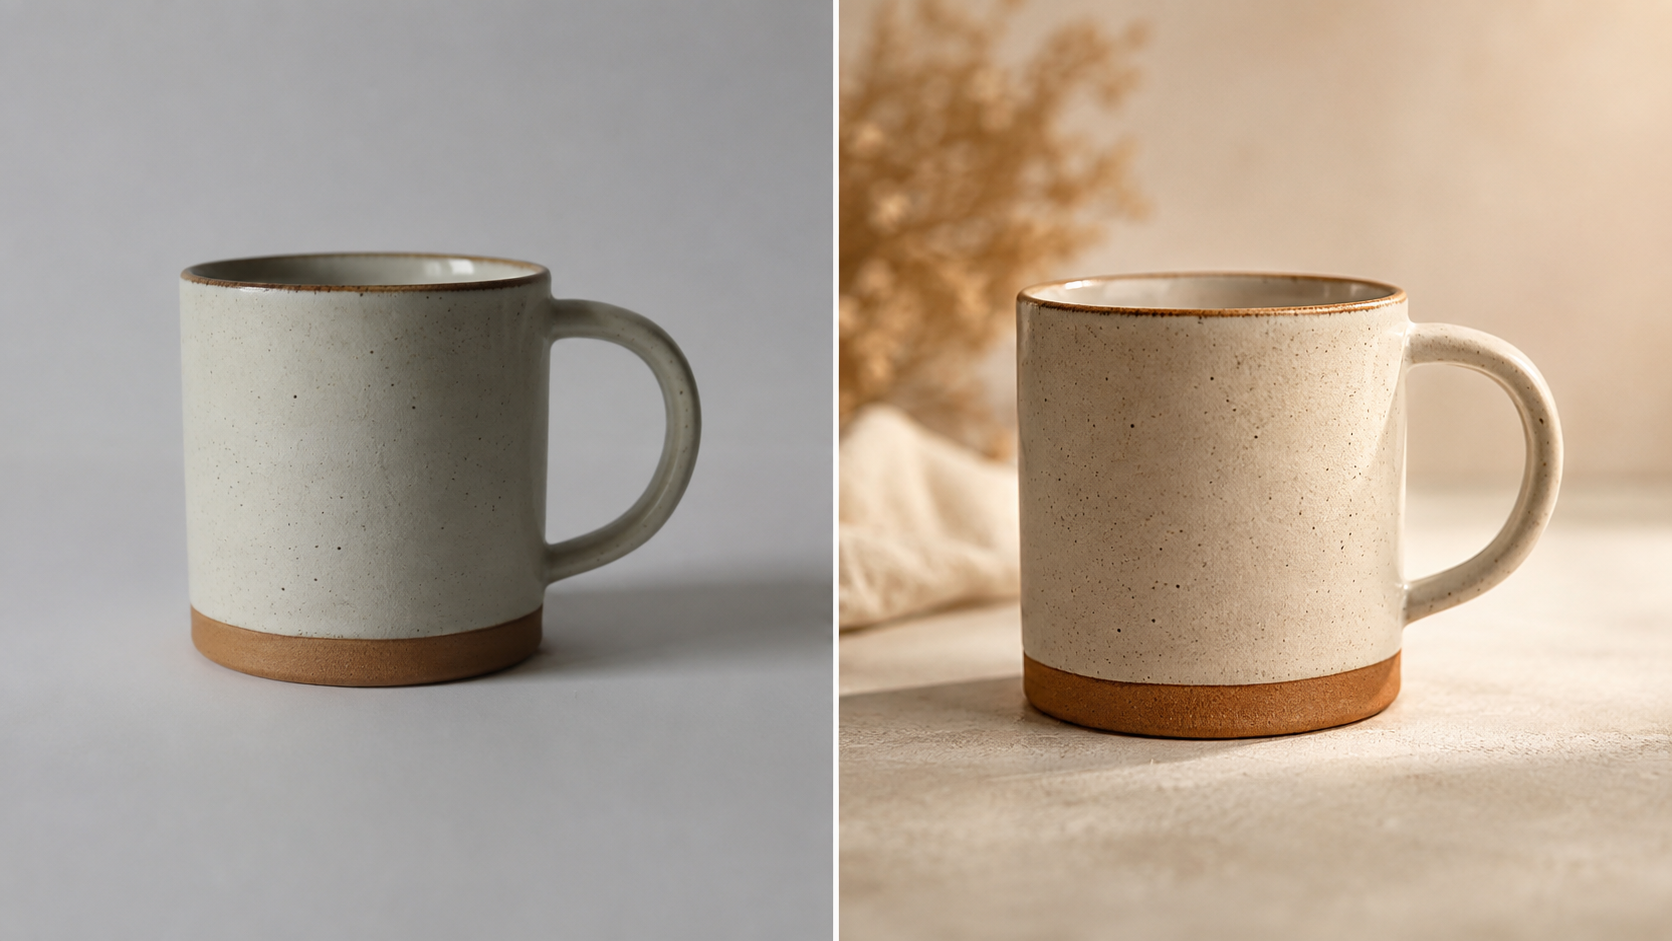
Everybody talks about generating images. Far fewer people have a repeatable image editing workflow — and that's exactly where most of the real work happens. Fixing a product photo, swapping a background, correcting garbled text, or refining a face are all image editing tasks, and they reward a process.
The tooling got better in 2026, too. GPT Image 2.5 now ships two tuned variants — Flare for speed and Sunburst for precision — and open models like Qwen Image Edit 2511 made instruction-based image editing mainstream. Here's a 12-step image editing workflow you can run on Fanch AI today.
Step 1: Start With the Best Source Image You Can
Every image editing job inherits the flaws of its input. Use a sharp, well-lit original, and never upscale a bad photo and expect the edit to save it. Good image editing starts before you open the tool.
Step 2: Decide What Kind of Edit You're Making
Sort the job into one of three buckets: a global edit (color, lighting, mood), a targeted edit (one object or region), or a structural edit (removing or adding content). Naming the type tells you which image editing approach to use.
Step 3: Pick the Right Model for the Job
Model choice is now part of image editing design. A fast model is right for quick iterations; a precision model is right for complex multi-object edits where quality beats latency. Choosing well is half of efficient image editing, and it's the step most people skip.
Step 4: Write an Instruction, Not a Vibe
Modern image editing responds to clear instructions. Instead of "make it better," write "warm the lighting and remove the shadow under the cup." Specific image editing instructions produce specific results.
Step 5: Change One Thing at a Time
Batch five edits into one prompt and you lose control of all five. Isolate each change, review it, then move on. This single habit improves image editing quality more than any setting, and it makes every later step of the image editing workflow easier to debug.
Copy & Paste this into Fanch AI (Model: gpt_image_2):
Edit the uploaded image: keep the subject and composition exactly the same, but warm the overall lighting to a soft golden tone, lift the shadows slightly, and add a gentle film grain. Do not change the subject, background, or framing. Photorealistic result, natural colors.
Step 6: Use Masking for Targeted Edits
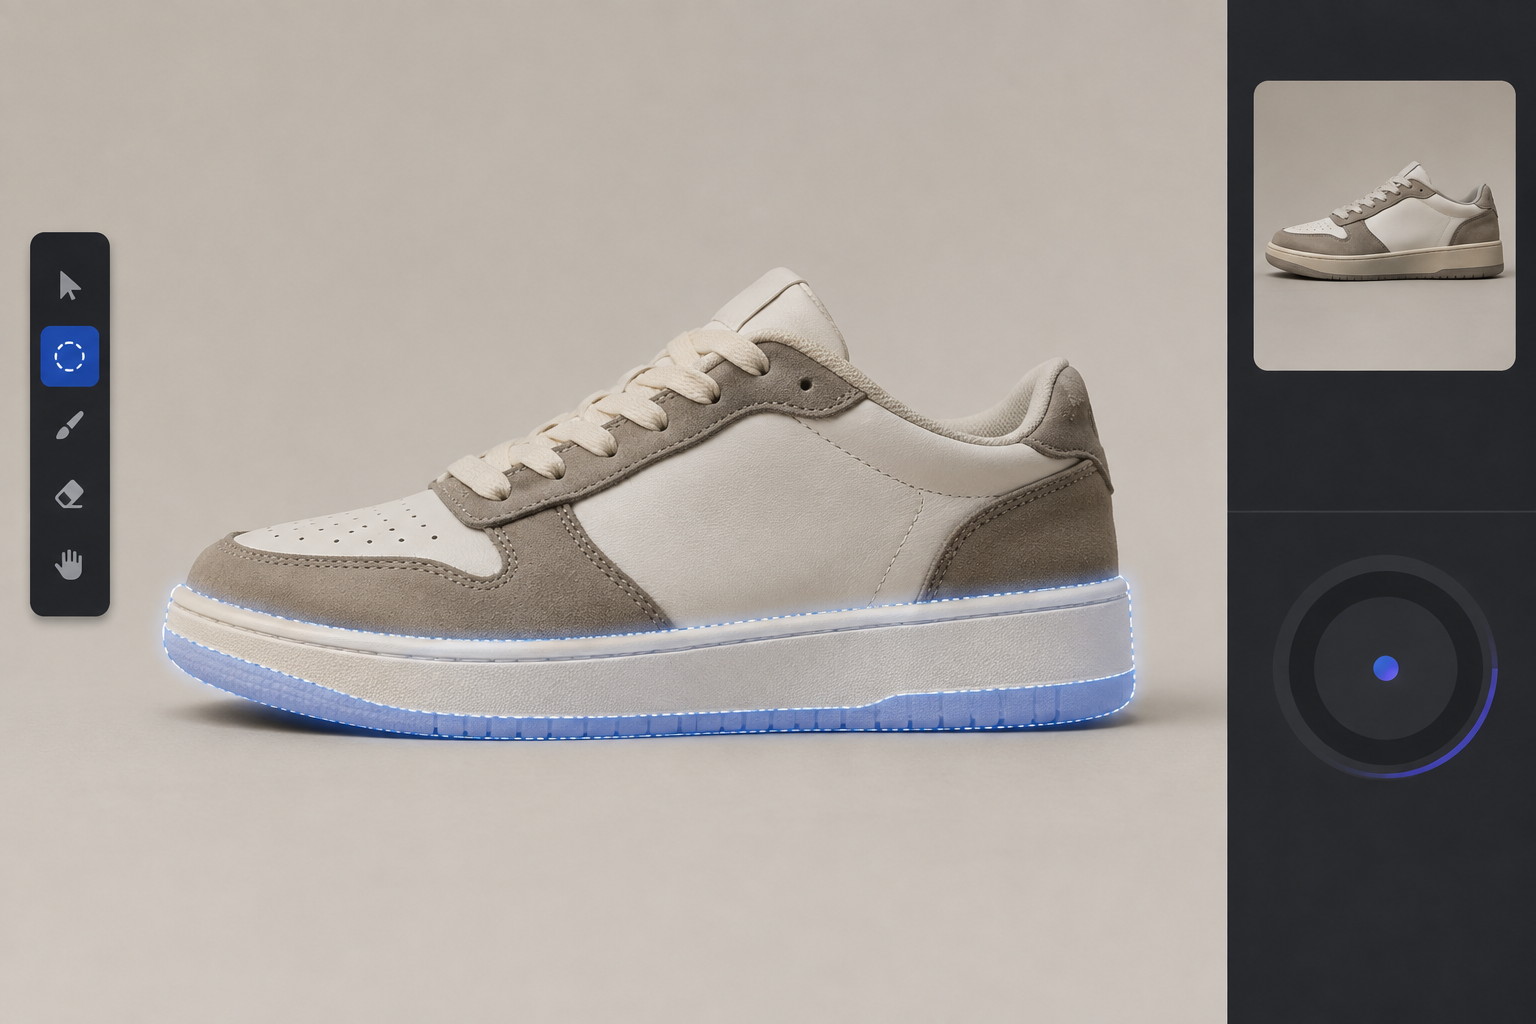
When you only want to change one region, constrain the image editing to that area. Masked inpaints stop the model from "improving" parts of the image you were happy with — the most common image editing mistake.
Step 7: Protect Identity and Brand Details
For portraits and products, add an explicit preserve line: keep the face, logo, label, or proportions unchanged. Guardrails like this are what separate professional image editing from guesswork.
Step 8: Fix Text and Typography Last
Garbled text is the classic image editing giveaway. Edit the underlying image first, then re-render any words as a final pass, and check every character. Multilingual text rendering is still uneven across models, so verify it.
Step 9: Iterate on the Weakest Part Only
After each pass, look for the single worst area and fix only that. Iterative image editing converges faster than rewriting the whole prompt from scratch, and it keeps the parts you already approved intact.
Step 10: Upscale and Clean Up
Once the composition is right, do the finishing image editing: sharpen lightly, remove stray artifacts, and clean edges. Polish at this stage should be subtle — heavy filtering undoes good image editing.
Step 11: Batch Your Variations
Clone the finished edit and change one variable per copy — background color, crop, or lighting mood. Batch image editing is how one good image becomes a full set for a campaign.
Step 12: Review at Full Size Before You Export
Zoom to 100% and inspect hands, hair, text, and edges. Most bad image editing results look fine in a thumbnail and fall apart at full resolution. A final full-size check is the cheapest insurance in any image editing workflow.
Copy & Paste this into Fanch AI (Model: gpt_image_2):
Edit the uploaded photo: replace the plain background with a soft neutral studio backdrop, add a subtle natural shadow beneath the subject, and gently enhance contrast. Keep the subject's face, clothing, and proportions completely unchanged. Clean commercial product-photography look, photorealistic, high detail.
Why Fanch AI Makes AI Image Editing Simple
Fanch AI gives you a dedicated image model that follows edit instructions closely — so your image editing keeps what matters and changes only what you asked for. There are no API keys to manage and no pipeline to build: you upload an image, paste an image editing prompt, and refine until it's right.
👉 Start here: GPT Image 2 on Fanch AI — run your own AI image editing workflow now.