
AI Image Upscaling to 4K: 12 Steps and 7 Tools
Most AI image generators top out around 1024×1024 pixels. That's fine for a social post, but force one of those files up to poster size and it comes back soft, warped, or covered in repeating texture artifacts. The fix is a second step: image upscaling. Get image upscaling right and a small render becomes a print-ready file.
Good image upscaling isn't just "make it bigger." It's a workflow — choose the right model family, clean the source, upscale in stages, and know when to stop. Here's a 12-step image upscaling process that gets you to 4K without the plastic look.
Step 1: Work Out How Many Pixels You Actually Need
Before any image upscaling, do the math. A 4K screen needs 3840×2160. A 16×20 inch print at 300 DPI needs roughly 4800×6000. Knowing the target stops you from over-processing.
Step 2: Tier Your Images by Source Size
Sort your files before image upscaling: anything under 1500px wide gets upscaled, 1500–2400px usually only needs enhancement, and 2400px+ should be left alone. This one triage step saves hours, because most image upscaling mistakes come from scaling files that didn't need it.
Step 3: Choose the Right Upscaler Family
There are two families in image upscaling, and they behave differently:
- GAN-based (Real-ESRGAN, 4x-UltraSharp) — fast and cheap, but it can only sharpen what's there. Push it too far and faces go plasticky.
- Diffusion-based (SUPIR, Magnific Sublime, Leonardo Pro) — slower and costlier, but it can invent plausible new texture, skin detail, and fabric weave.
Pick the family before you pick the tool.
Step 4: Match the Model to the Content
The best image upscaling model depends on what's in the frame:
- Product hero shots — a high-fidelity generalist like Topaz Upscale.
- People and lifestyle — a face-aware model such as ByteDance's upscaler.
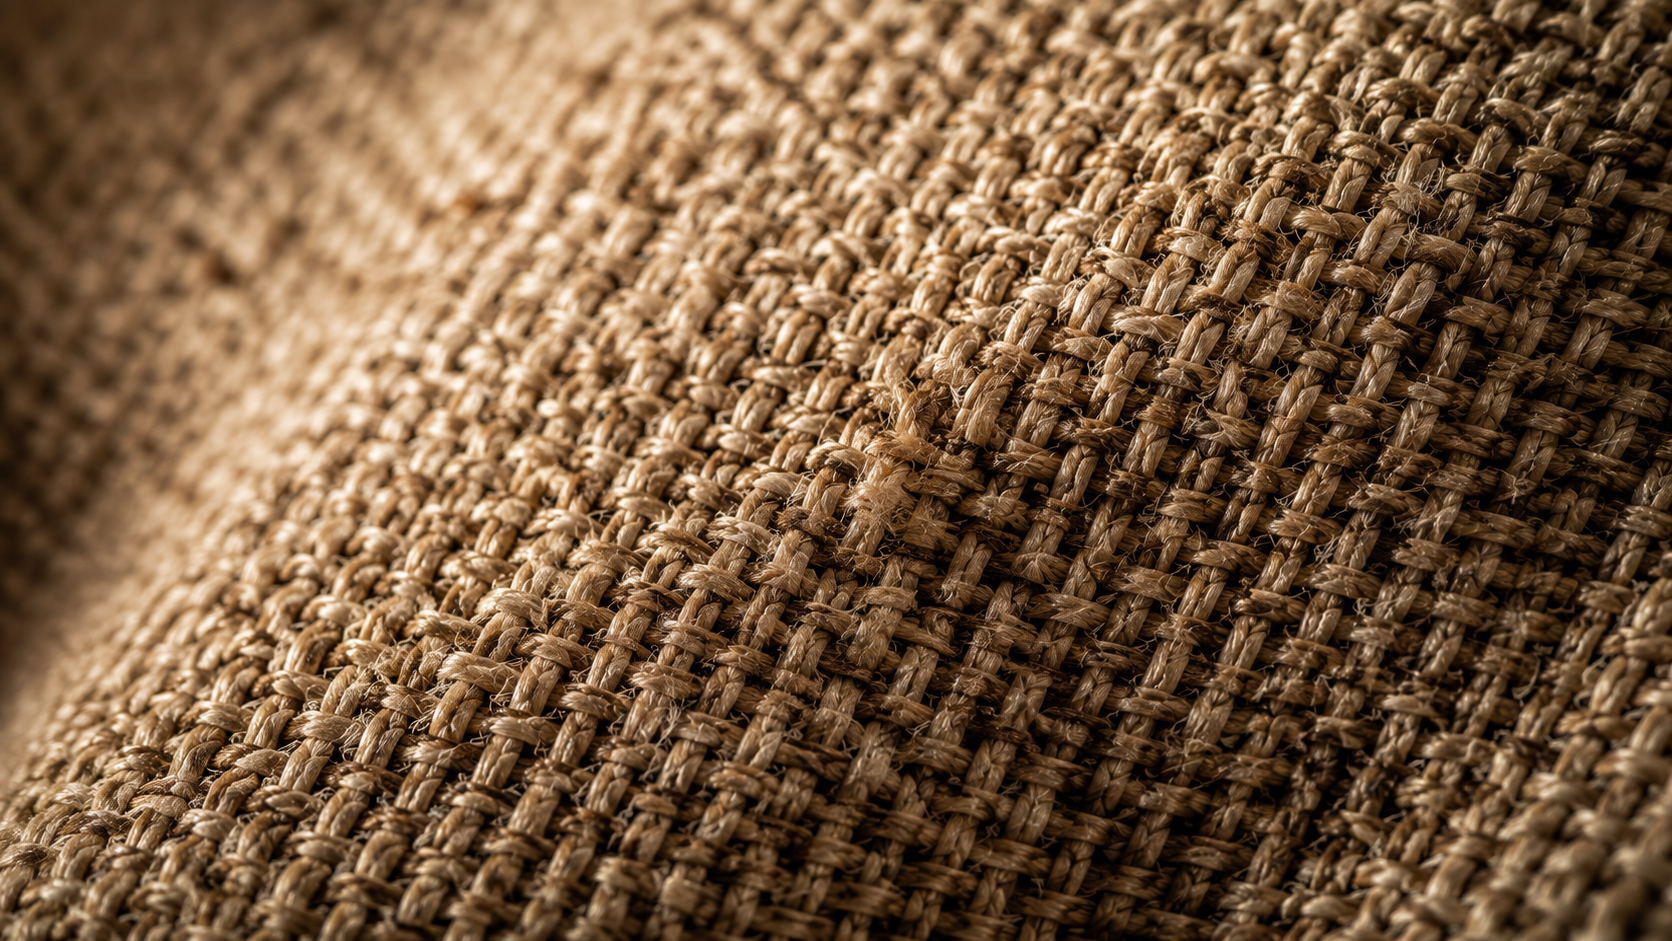
- Fabric, texture, and damage recovery — SUPIR, which recovers the most detail.
- Text-heavy images — a dedicated text/CGI mode so type stays sharp without halos.
Step 5: Clean Compression Artifacts First
Image upscaling amplifies whatever is already wrong. If the source has JPEG blocking or banding, fix that before you scale — otherwise you're enlarging the damage. Cleanup first is the least glamorous and most effective image upscaling habit.
Step 6: Denoise Lightly, Then Sharpen
Do a gentle denoise pass, then a light sharpen. Heavy-handed image upscaling is what produces that over-smoothed, waxy look people associate with bad AI enlargements. Treat denoise and sharpen as separate image upscaling passes, not one combined slider.
Step 7: Upscale in Stages, Not One Huge Jump
Instead of a single 8x image upscaling pass, run 2x twice. Staged scaling keeps texture believable and gives you a checkpoint to evaluate before going further.
Step 8: Watch Faces and Skin
Skin is the giveaway. Over-aggressive image upscaling removes pores and turns faces into plastic, while diffusion models can invent freckles that were never there. Check faces separately from the rest of the frame — a face-aware image upscaling model usually beats a generalist here.
Step 9: Protect Text, Logos, and Fine Lines
Straight edges and letterforms are the first things to halo during image upscaling. Use a text-aware mode where available, and re-render any critical typography as a final pass.
Step 10: Compare at 100%, Never in the Thumbnail
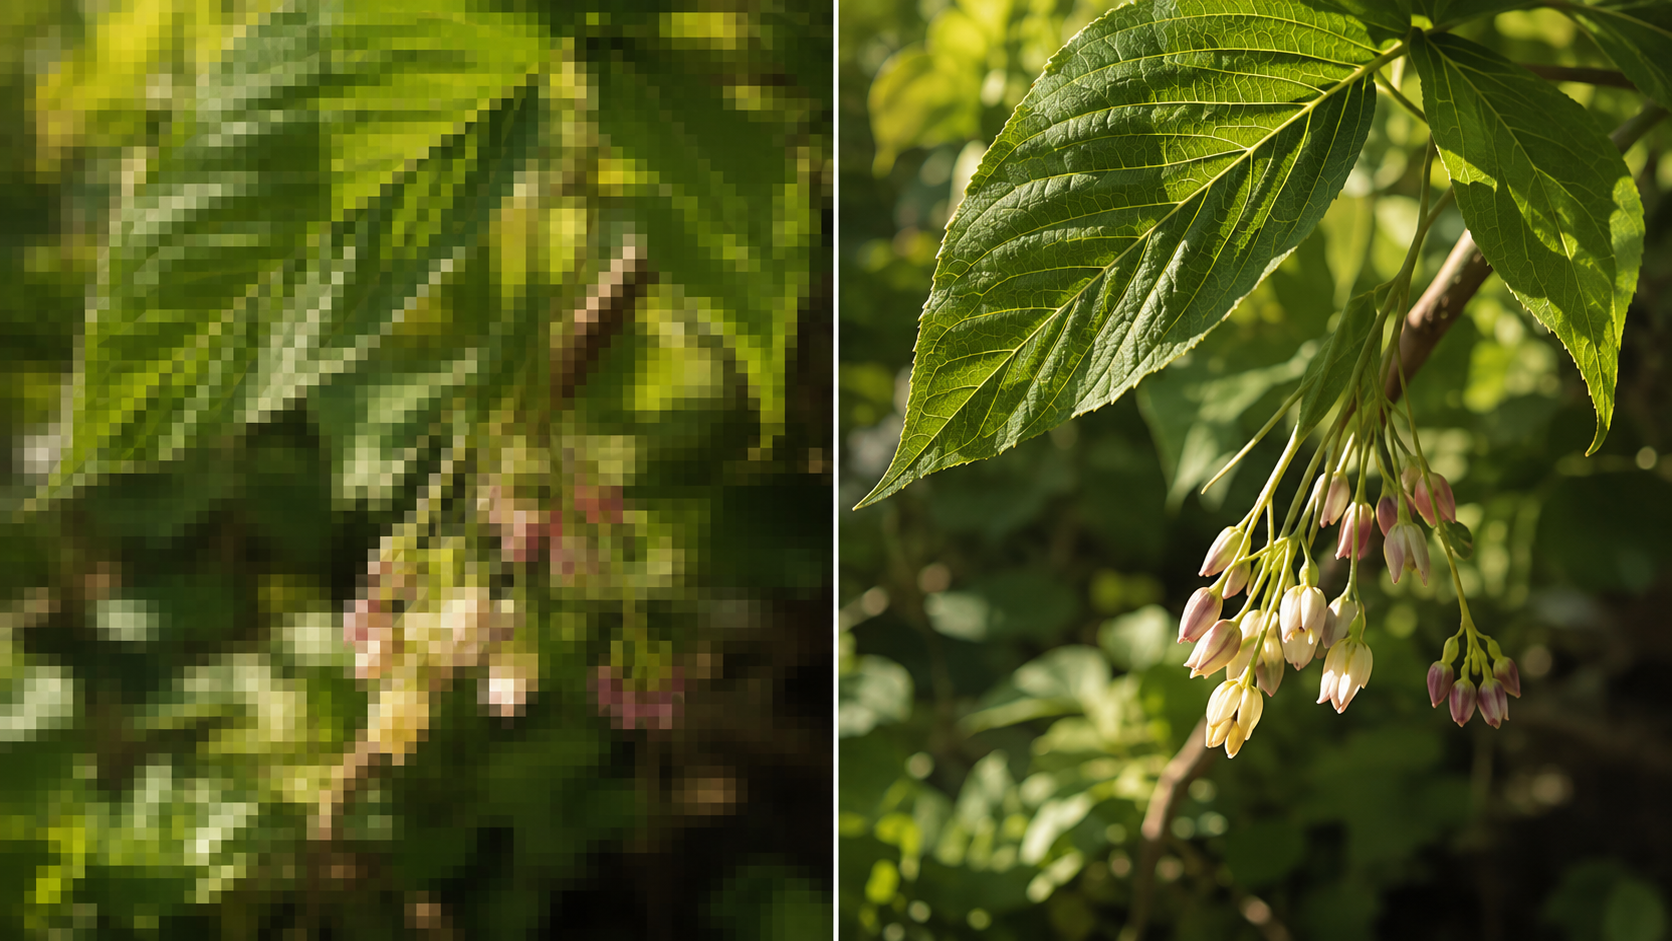
Judge your image upscaling at full resolution. A result that looks great in a preview grid often falls apart the moment you zoom in — always review at 100%. This is the step where sloppy image upscaling gets caught.
Step 11: Batch Your Catalog
Once your settings work, apply the same image upscaling recipe across the whole set. Consistency matters more than squeezing out the last 5% of sharpness on a single file, and batch image upscaling is where the workflow pays for itself.
Step 12: Generate Bigger Next Time
The cheapest image upscaling is the one you don't need. Generate at the highest native resolution your model supports, then treat image upscaling as a rescue tool rather than a default step. Prevention beats even the best image upscaling workflow.
Copy & Paste this into Fanch AI (Model: gpt_image_2):
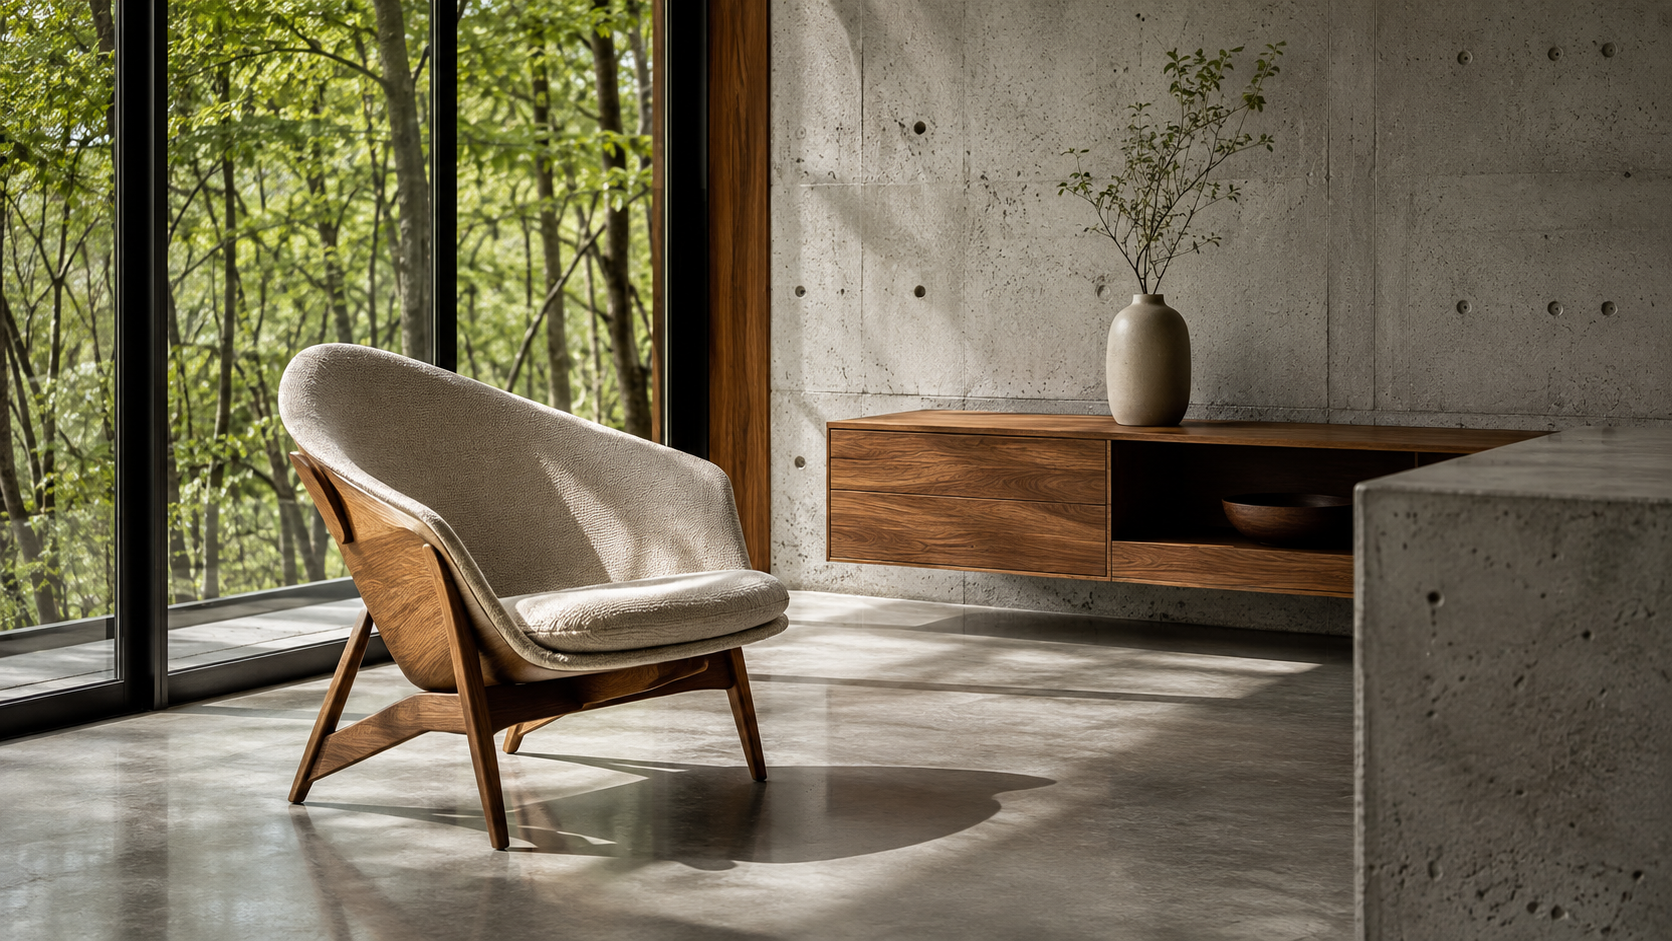
Generate a highly detailed, print-ready image of a modern architectural interior with large windows, polished concrete floors, and a single sculptural chair. Maximize fine texture detail — wood grain, concrete pores, and fabric weave — with sharp, clean edges and natural depth. Photorealistic, editorial architecture photography, maximum native resolution, 16:9 framing, no text.
Why Fanch AI Fits Your Image Upscaling Workflow
The best way to keep image upscaling simple is to start from a strong, high-resolution generation. Fanch AI runs a dedicated image model you can direct with precise prompts, so you get detailed, clean files that hold up when you enlarge them — and far less image upscaling work later.
👉 Start here: GPT Image 2 on Fanch AI — create high-resolution images now.