Tutorial: How to Build Interactive 3D Panoramas with GPT Image 2 and Codex
As visual generation and coding automation merge, learning how to build interactive 3D panoramas no longer requires a studio of frontend developers. If you want to build interactive 3D panoramas, you can now rely entirely on AI. This tutorial: how to build interactive 3D panoramas with GPT Image 2 and Codex will show you the exact workflow.
By combining visual generation with logic-building capabilities, you can easily build interactive 3D panoramas with GPT Image 2 and Codex in just two easy steps.
The Workflow: Visuals Meet Logic
Before you build interactive 3D panoramas with GPT Image 2 and Codex, you must understand the two fundamental components needed for a 3D web experience:
- An equirectangular panorama: A distorted 2D image designed to map perfectly onto the inside of a 3D sphere. To start, you must make an equirectangular panorama.
- A web viewer: The HTML and JavaScript code that maps the image onto a virtual sphere and allows the user to pan the camera.
Here is exactly how to execute this using GPT Image 2 and Codex.
Step 1: Generate the Environment
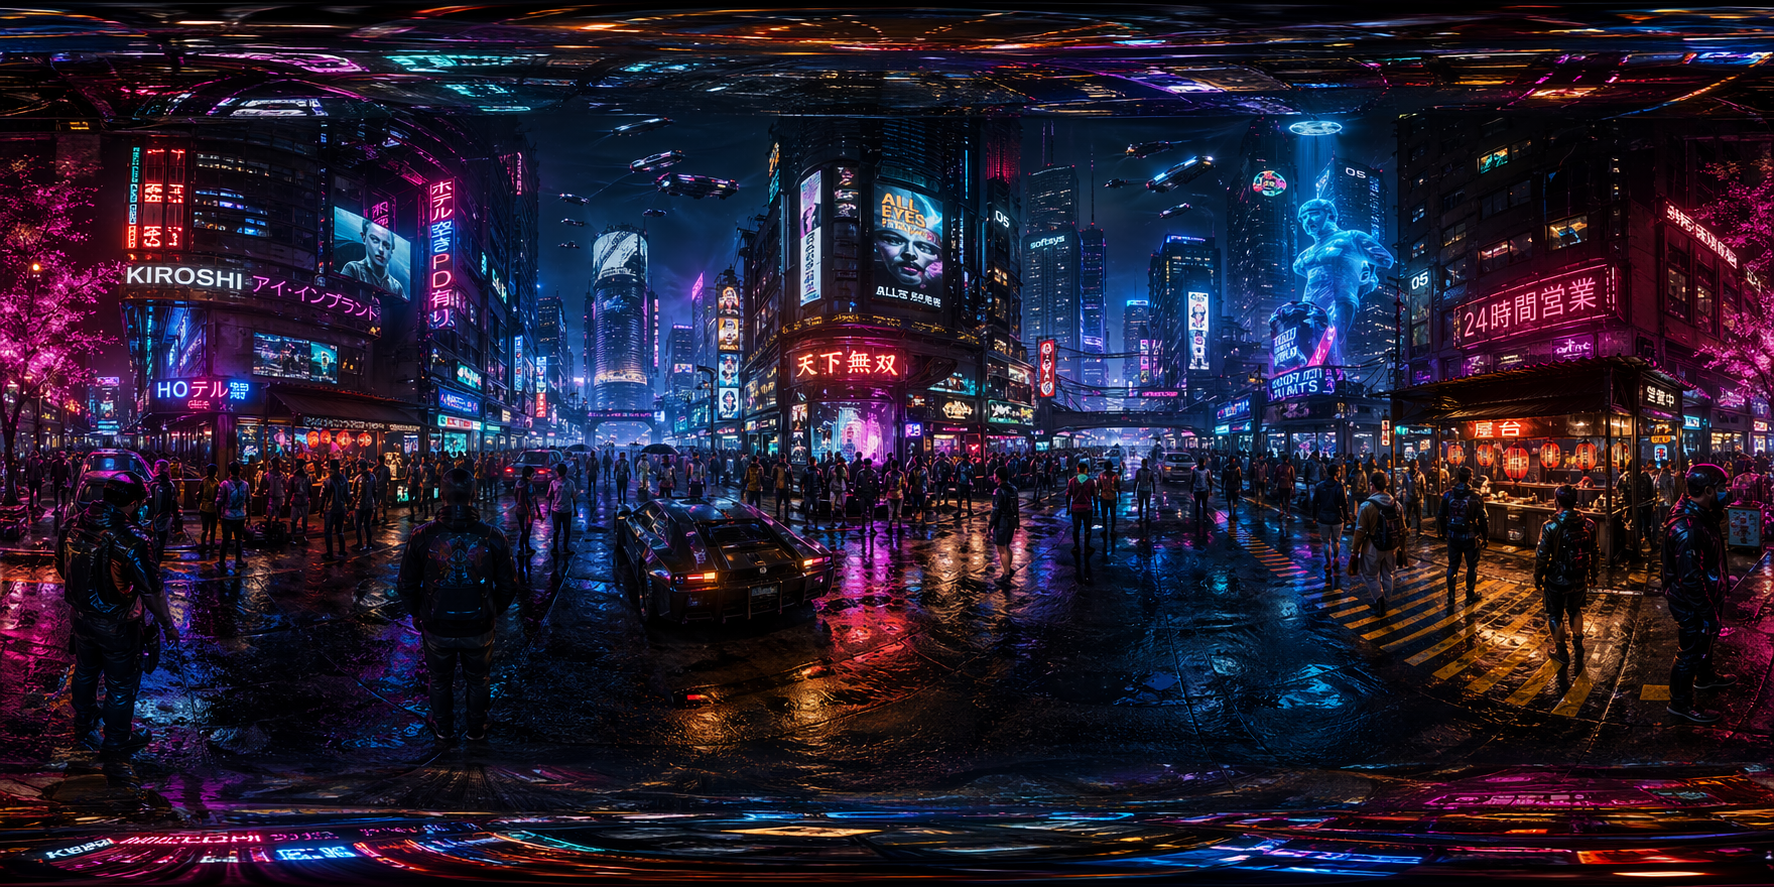
First, we need to create the visual asset. The first step to build interactive 3D panoramas is to make an equirectangular panorama. GPT Image 2 is exceptionally good at understanding spatial geometry, making it the perfect tool for rendering seamless equirectangular images.
Open your ChatGPT interface with GPT Image 2 enabled and use the following prompt structure:
Prompt: "Make an equirectangular panorama of [Location/Scene]."
Pro-Tips for Step 1:
- Replace
[Location/Scene]with highly descriptive environments. For example: "Make an equirectangular panorama of a cyberpunk neon city street at night" or "Make an equirectangular panorama of a futuristic Mars colony." - Ensure the output is a 2:1 aspect ratio. The model handles this automatically.
- Download the generated image to your local drive and name it simply, like
panorama.pngorpanorama.jpg.
Step 2: Write the 3D Viewer Code
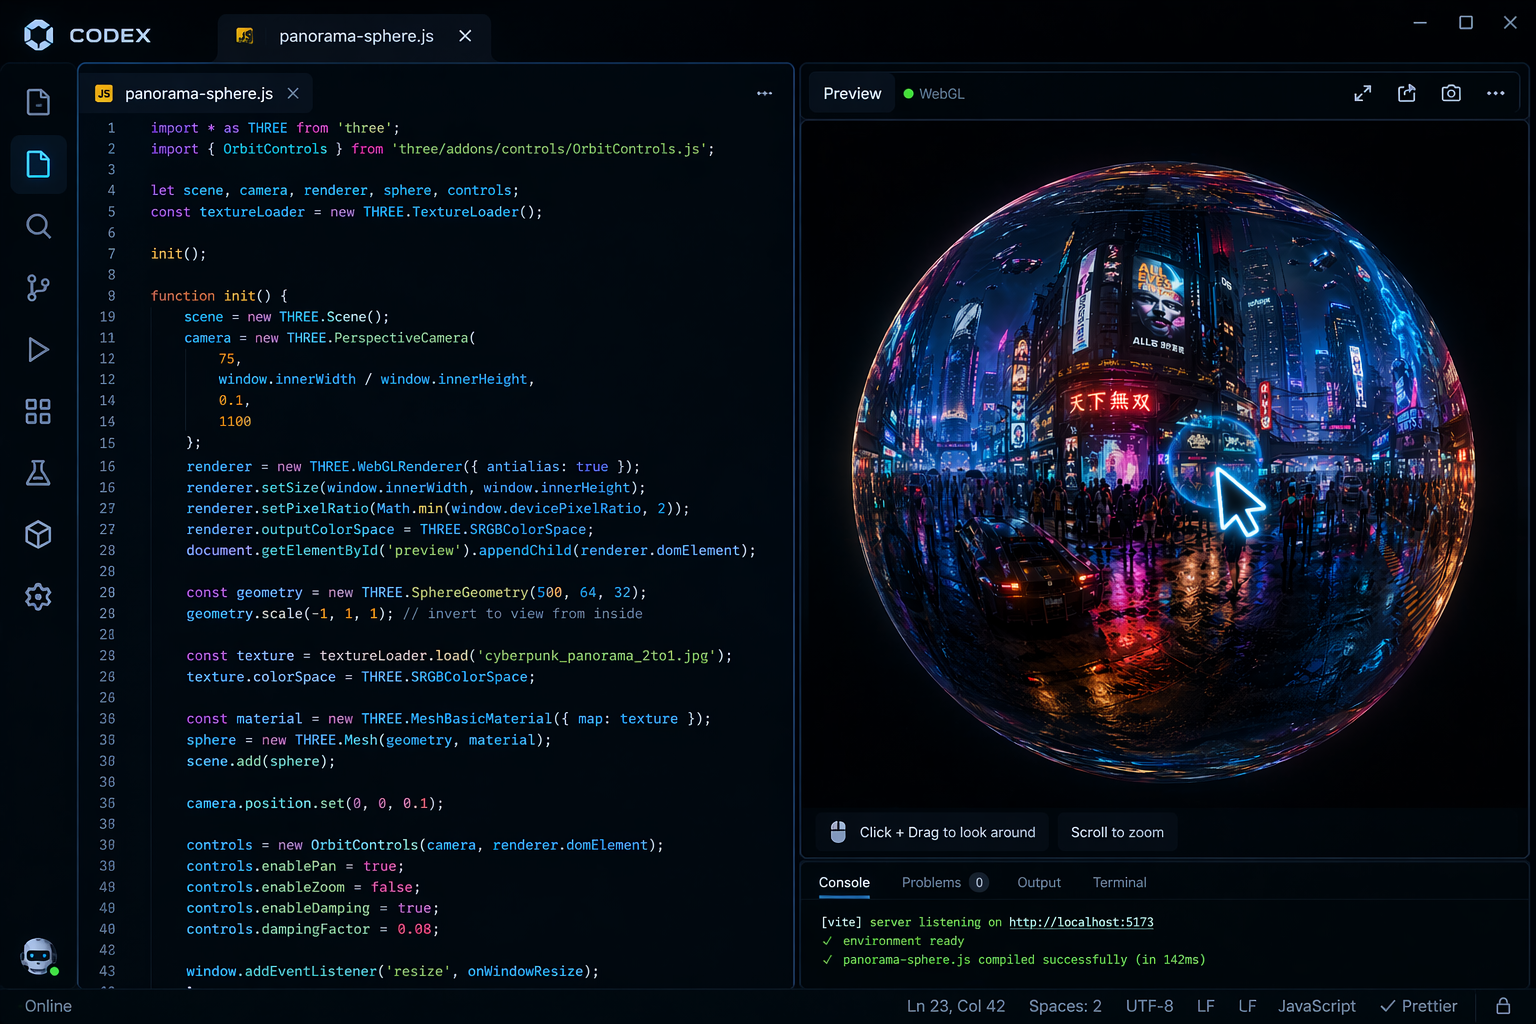
Now that you have your seamless 360-degree image, it is time to turn it into an interactive web component. To fully build interactive 3D panoramas with GPT Image 2 and Codex, we will use Codex (accessible directly in the same chat) to write the HTML, CSS, and JavaScript.
Upload the panorama image you just saved back into the chat, and give Codex the following instruction:
Prompt: "Make a mouse-controlled 3D view using this uploaded image as the background texture."
What Codex does next:
- It will analyze the context and recognize the need for a spherical geometry setup.
- It will generate a complete, single-file
index.htmlcontaining the necessary code. - It will write the JavaScript logic to map your GPT Image 2 panorama onto a 3D sphere.
- It will implement event listeners for mouse drag controls.
Bringing It Together
Once you combine GPT Image 2 and Codex, deployment takes seconds:
- Copy the code from Codex into a new text editor file and save it as
index.html. - Ensure your GPT Image 2 generated image is placed in the exact same folder.
- Double-click
index.htmlto open it in your web browser.
Just like that, you have learned how to build interactive 3D panoramas with GPT Image 2 and Codex. The synergy between GPT Image 2 and Codex is rapidly democratizing interactive web design.
Try swapping out different prompts in Step 1 to see how quickly you can build entirely new digital worlds!